Working with Custom Fields
Custom data fields are stored in Chabad Suite in custom fieldsets. Because of this, you must add custom data in a two-step process:
- First, create a custom fieldset that will be used for specific components such as Participants, Individual, Contributions, or even Contact Sub-types.
- Second, create and add custom fields to this set.
Create a Custom Field Set
- In the Menu bar across the top of your page, select Administer > Customized Data and Screens > Custom Fields.
- Click the Add Set of Custom Fields button.
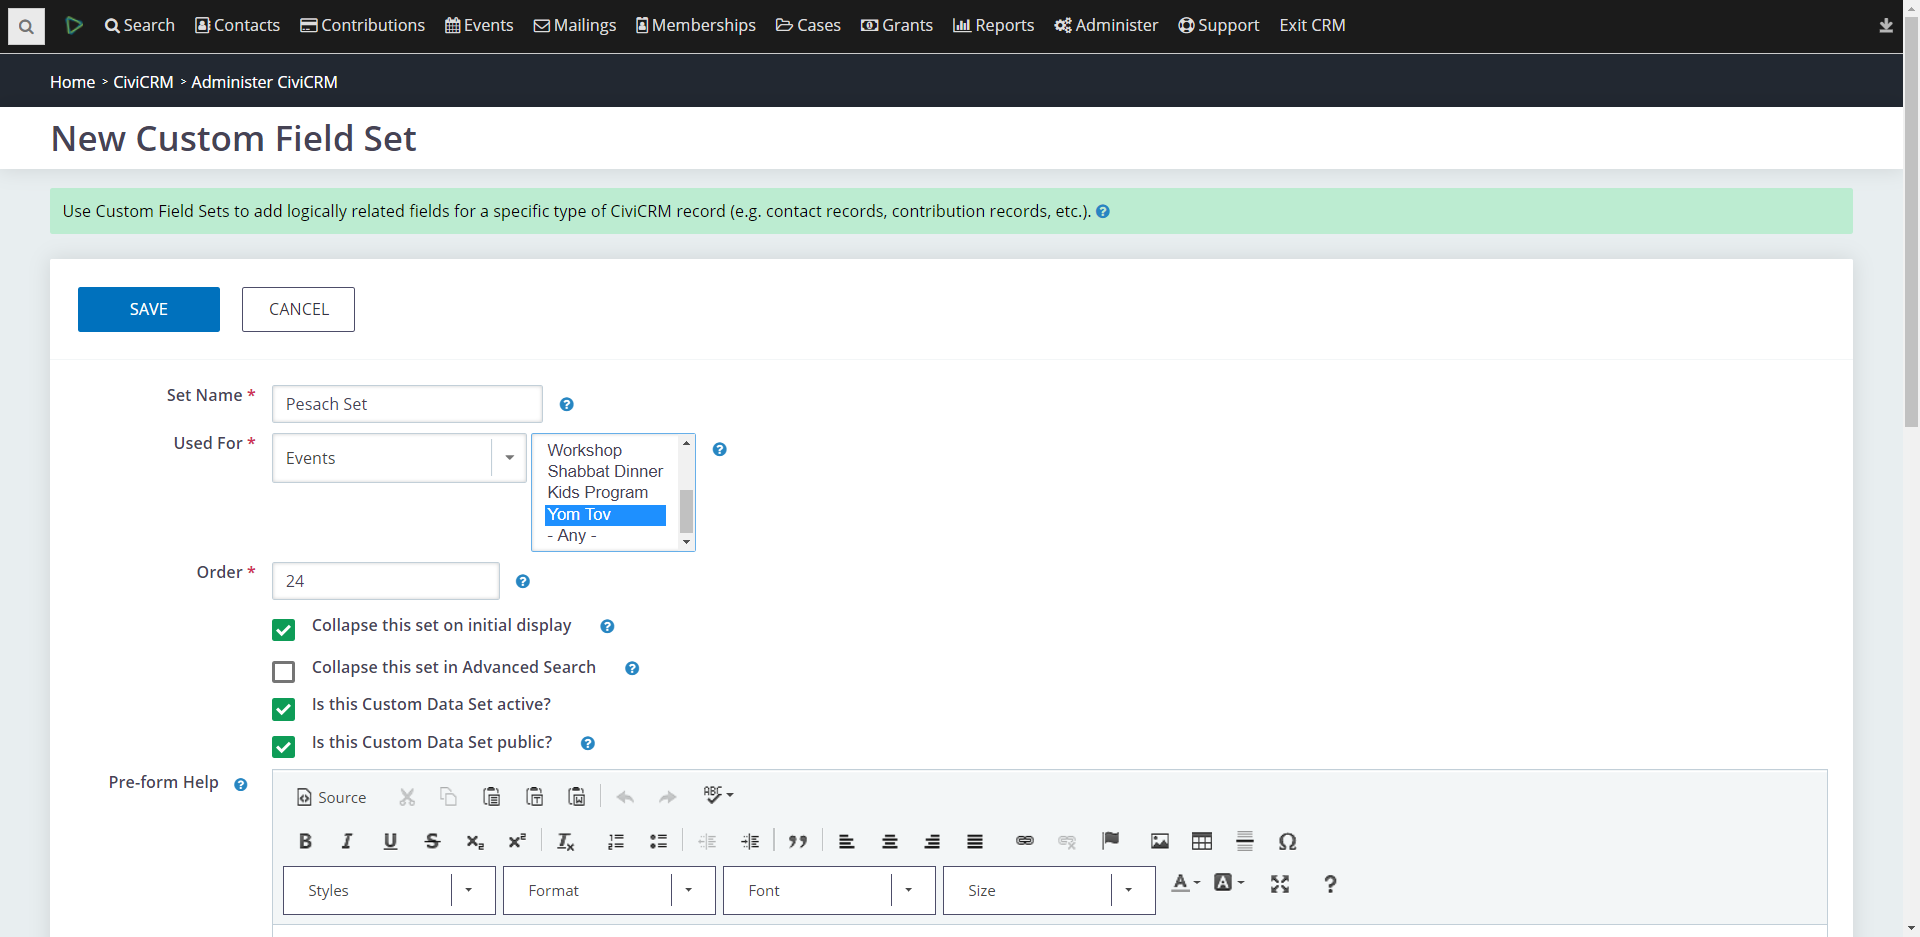
- Enter a name for the fieldset in the Set Name field.
- Select the component that this fieldset will be used for from within the Used For drop-down. For example, Activities, Contributions, Contacts, Individuals, etc.
Note: The field options may change depending on which component you select the fieldset will be used for
Note: The option "Contacts" bridges all contact types: Individual, Household or Organization. -
Enter a number in the Order field. The Order field determines the placement of the field set in the main list if there is more than one set. - If you want the fieldset collapsed, check the check-boxes for Collapse this group on initial display and Collapse this group in Advanced Search.
- Make sure that Is this Custom Data Group Active is checked.
- Enter instructions in the Pre-form and Post-form Help.
- Click the Save button to save the group.
You will now see a Custom Data Field page where you can enter your first custom data field.
Create Custom Data Fields
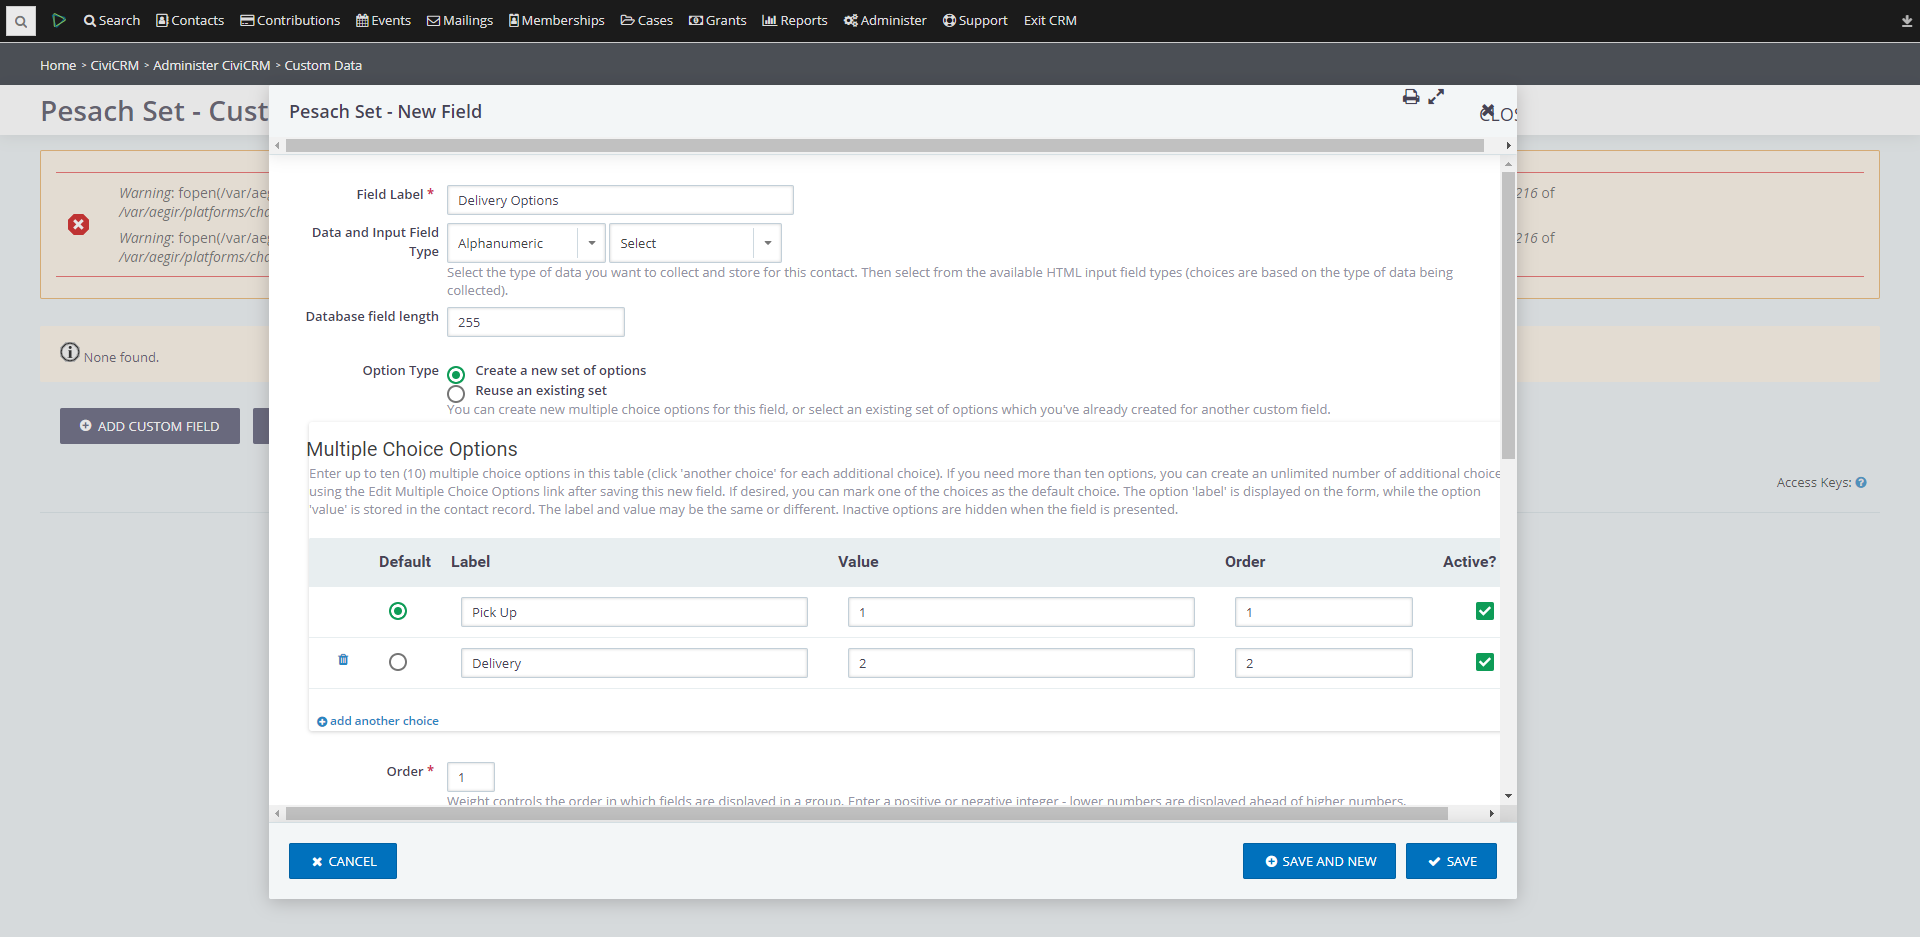
- Enter a Field Label for the custom field.
- Select the Data Type and Input Type for the field. (the input type options will vary depending on the data type you select).
- Complete the form based on the form fields for your data and input types.
Note: If you select the Input Type Radio or Select you may see an option for the Value, do not make any changes to the Value as this can lead to issues. - Check Required? if the user must enter information into this field. Remember that this will force all users to enter data into this field.
- Check Is this Field Searchable? if you want to use this field for searching purposes. For example, you want to be able to search on the field in the Find Contacts - Advanced Search.
- Make sure the Active? field is checked.
- Click the Save button to save the field or the Save and New button to save the field and create another.
- Repeat this process for all the fields necessary for your fieldset.
Your custom data fields are now available. To use the custom data fields in a form on your website, you must create a Profile and add the fields to the Profile. For more information on using Profiles check out this article here.