What is an Activity?
In Chabad Suite virtually every interaction with a contact is considered an activity. Each component (Contribution, Events etc...) creates a record of such activities as contribution records, event attendance or emails. By recording these activities, the CRM gives you the means to track all your interactions with your contacts and retain a history of their activity with your organization.
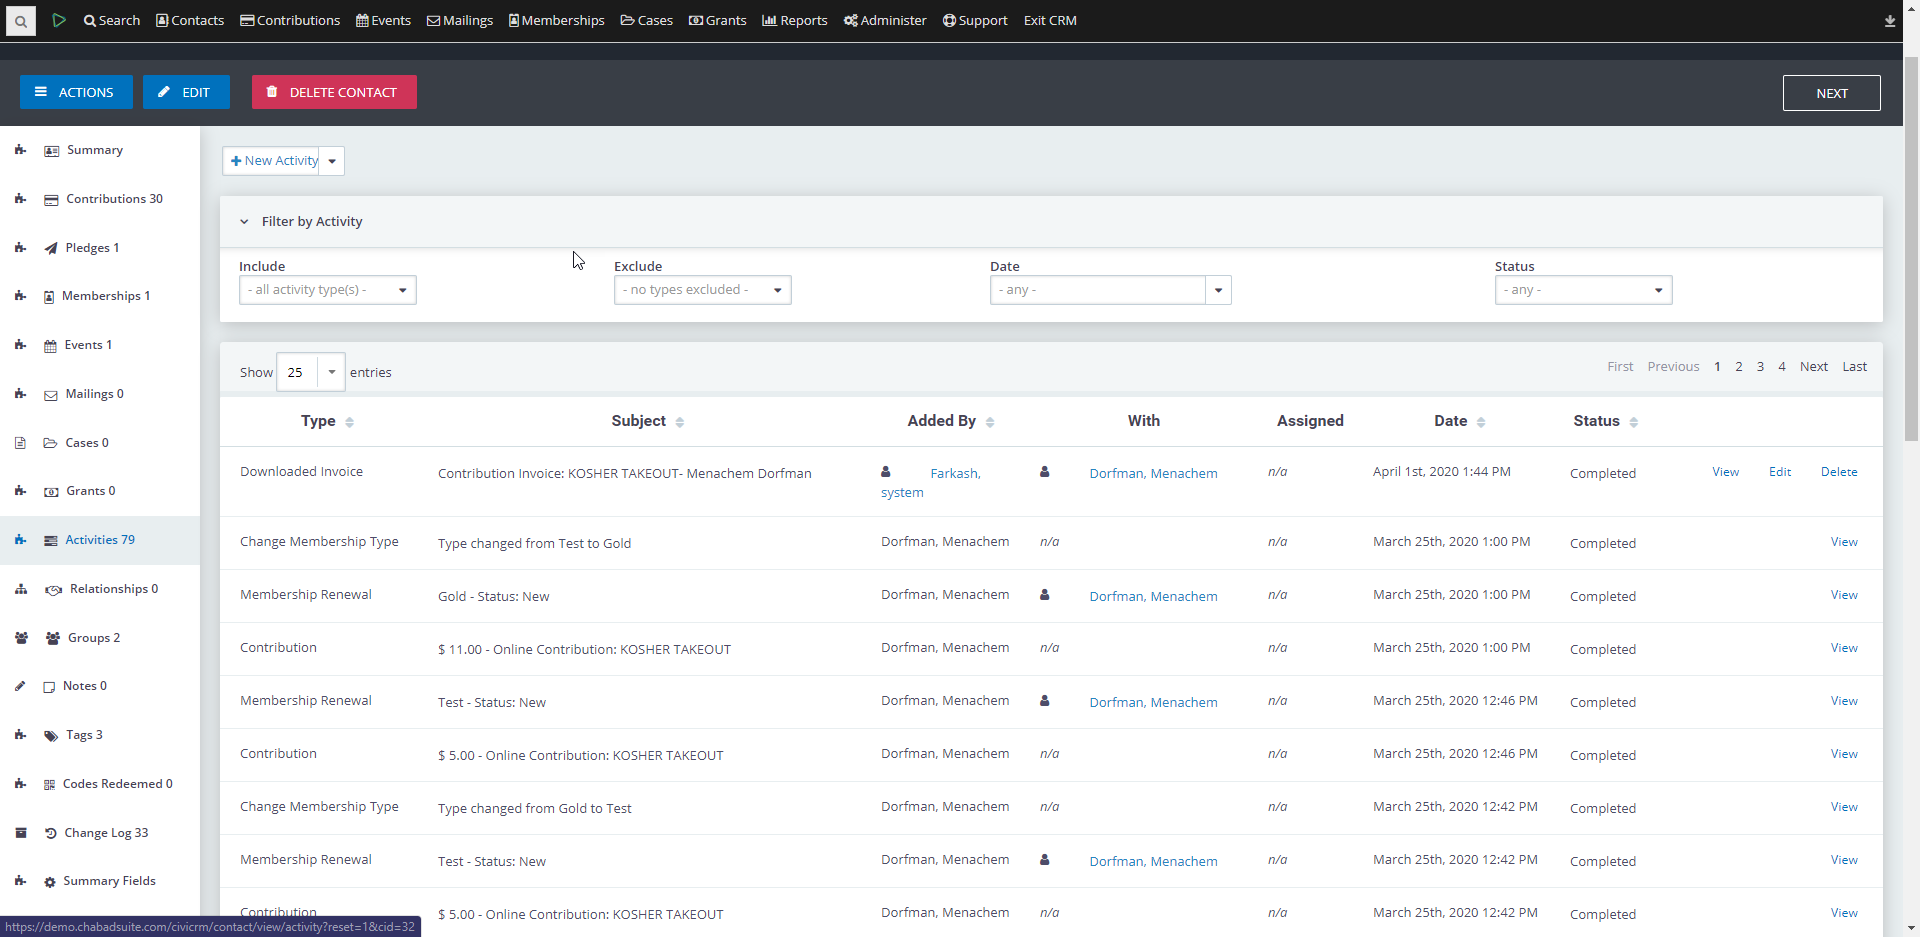
On the contact's summary page click on their Activities tab to see a full list of that contact's activities.
In addition to the activities automatically created when a user interacts with your site (such as making a contribution) you can add an activity manually to track a call, meeting or whatever you'd like.
You can also create new activity types to allow for more specific tracking. For example, you could add an activity type called "Matzah Delivery" which you could use to track that specific kind of interaction.
Create a New Activity from Within a Contact
- Search for the contact using one of the Search features.
- Click the name of the contact on the left-hand side, or the View link on the right-hand side of the contact's row.
- Click the Activities tab.
- Select an activity from the Activity Type drop-down.
A new activity page will appear labeled according to the activity you have selected. (New Meeting, New Phone Call, etc.) - Fill in the details for the activity.
- If you have files that you want to associate with this activity, click the Attachment(s) arrow to expand the box.
- Click the Choose File to browse your local machine for the file.
- Select the file.
- Click the Open button.
- If you want to schedule a follow-up activity associated with this activity, click the Schedule Follow–up arrow to expand the box.
- Fill in the details for the scheduled activity.
- Click the Save button to save the activity.
Create a New Activity Type
- In the menu bar across the top of your page, select Administer > Customize Data and Screens > Activity Types.
- Click the Add Activity Type button.
- Enter a Label.
- Enter a Description.
- Make sure Enabled? is selected.
- Click the Save button to save the new activity type.