There are many form builders out there, some of them are very easy to operate: Add a field, choose its style, type the question and done. In CiviCRM however it gets a little more complicated. You need to create each field beforehand and connect it to a specific purpose and use, but the hard work is rewarding - unlike other form builders, all the submitted information are properly stored in your CRM in the right place, so you don’t need to compare a few different spreadsheets with your contact list and so on.
To Start, we first need to get familiar with the following terms: Fields, Profile, Forms, and Custom Fields.
Fields
A place for a user to submit information, like: First name.

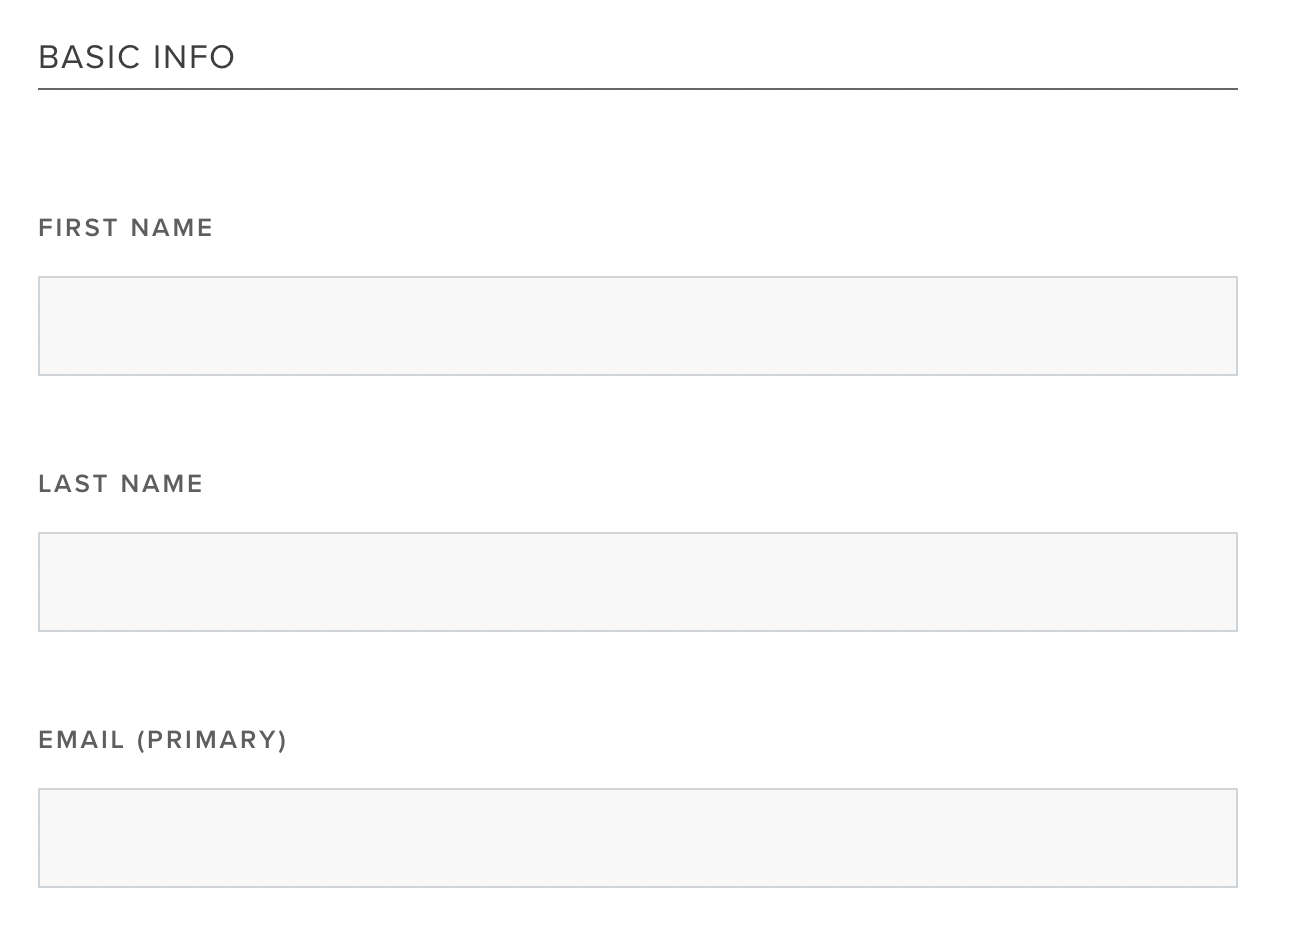
Profiles
A group of fields, for example: the profile “Basic Info” contains the fields of First name, Last name, and Email.
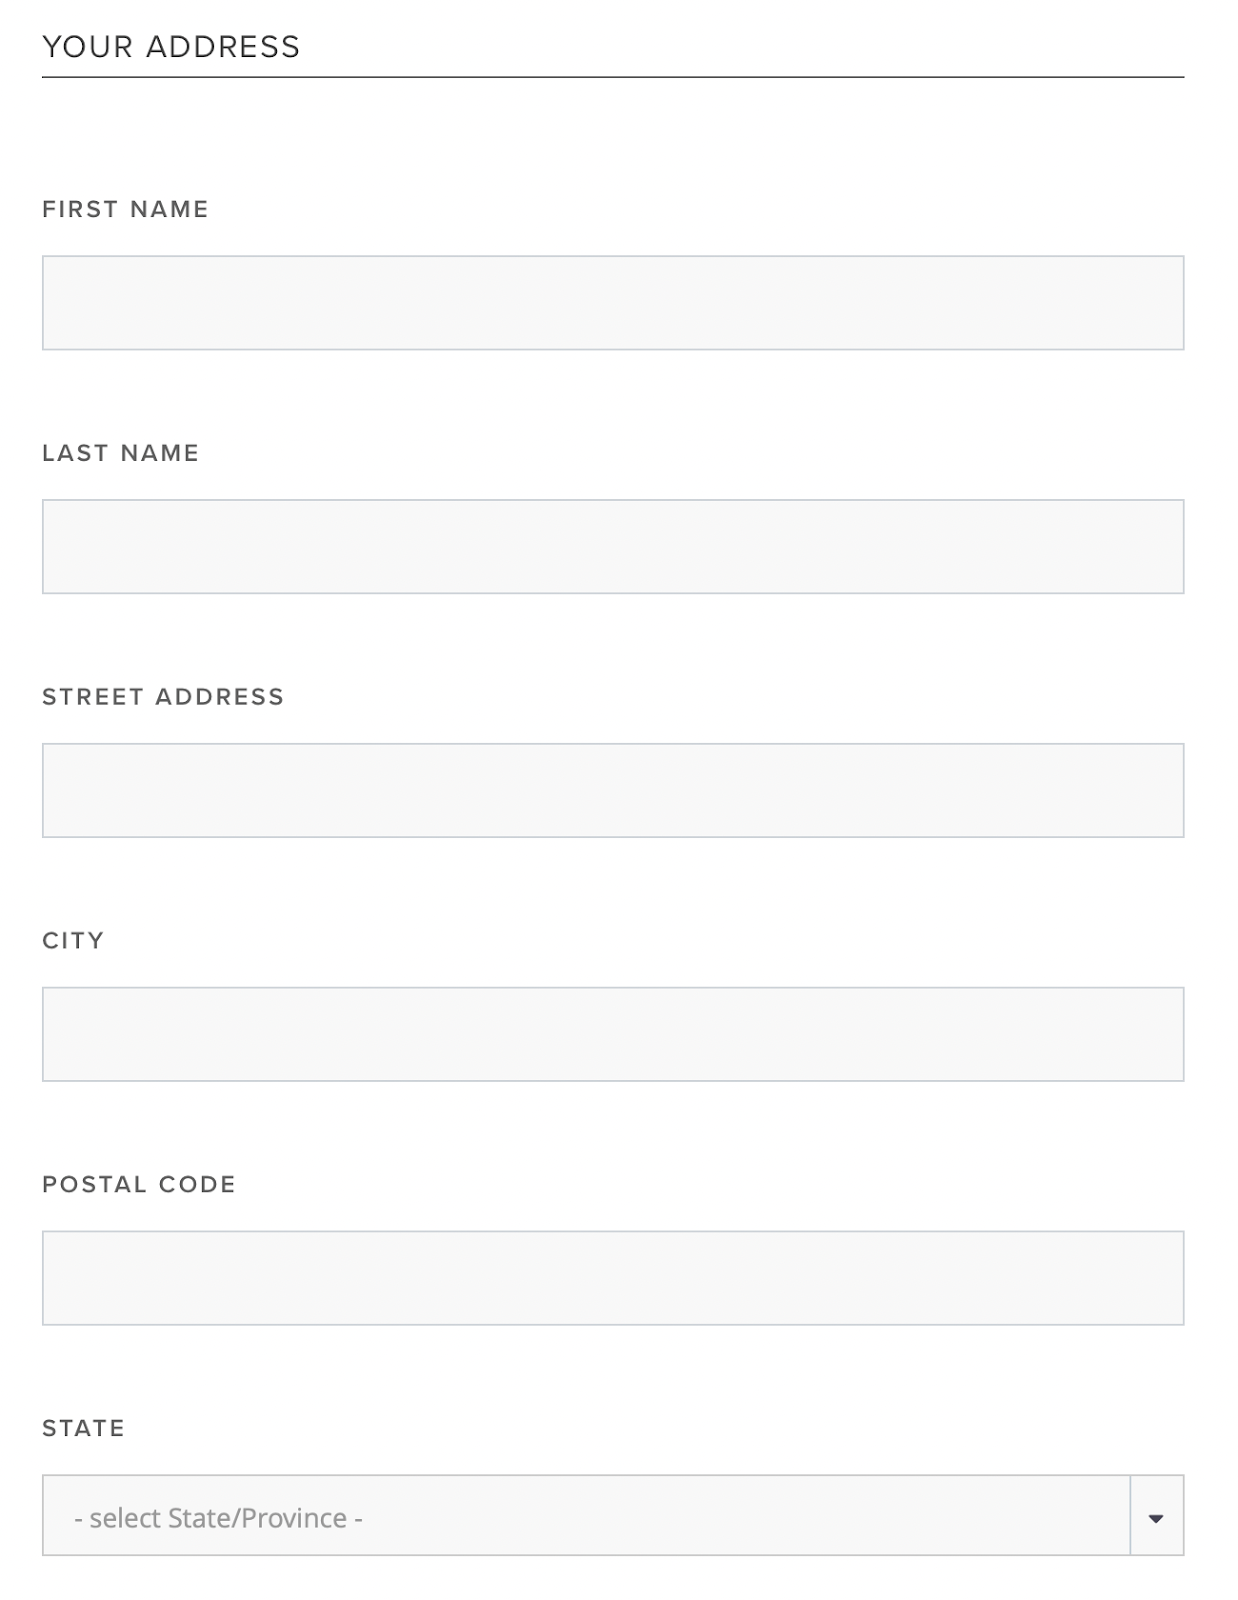
Note that you can have multiple profiles containing the same fields, for example: in addition to the “Basic Info” profile you can have a profile “Your Address” which will contain as well the First name and last name fields, but also some address fields as well.
You can make fields required in their setting within the profile. You can also change the field label.

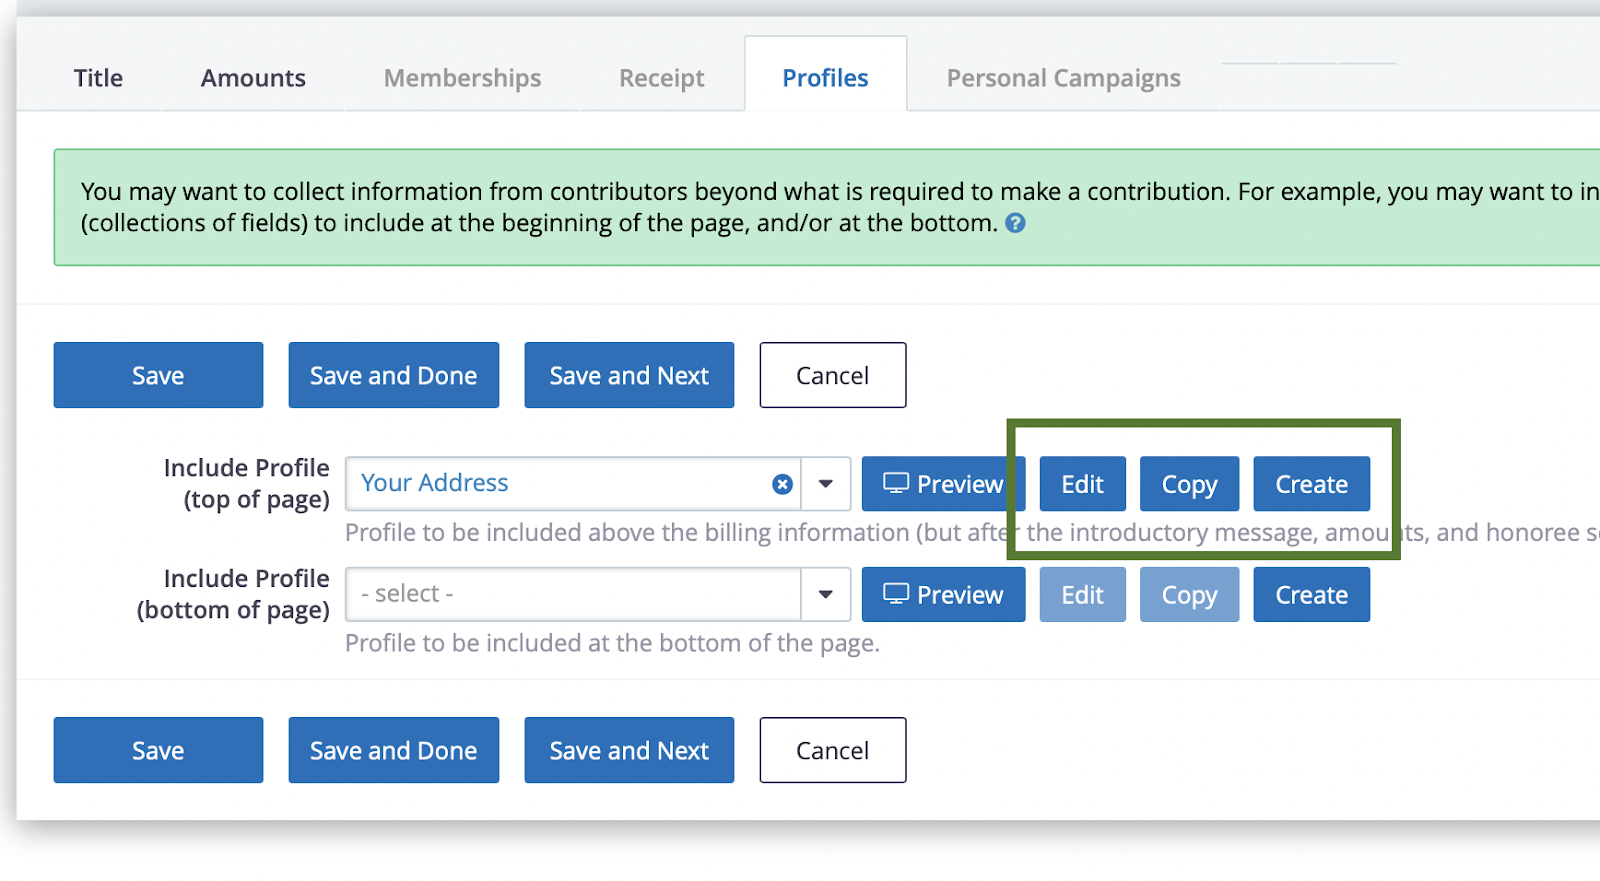
(Editing the profile from event form editor)

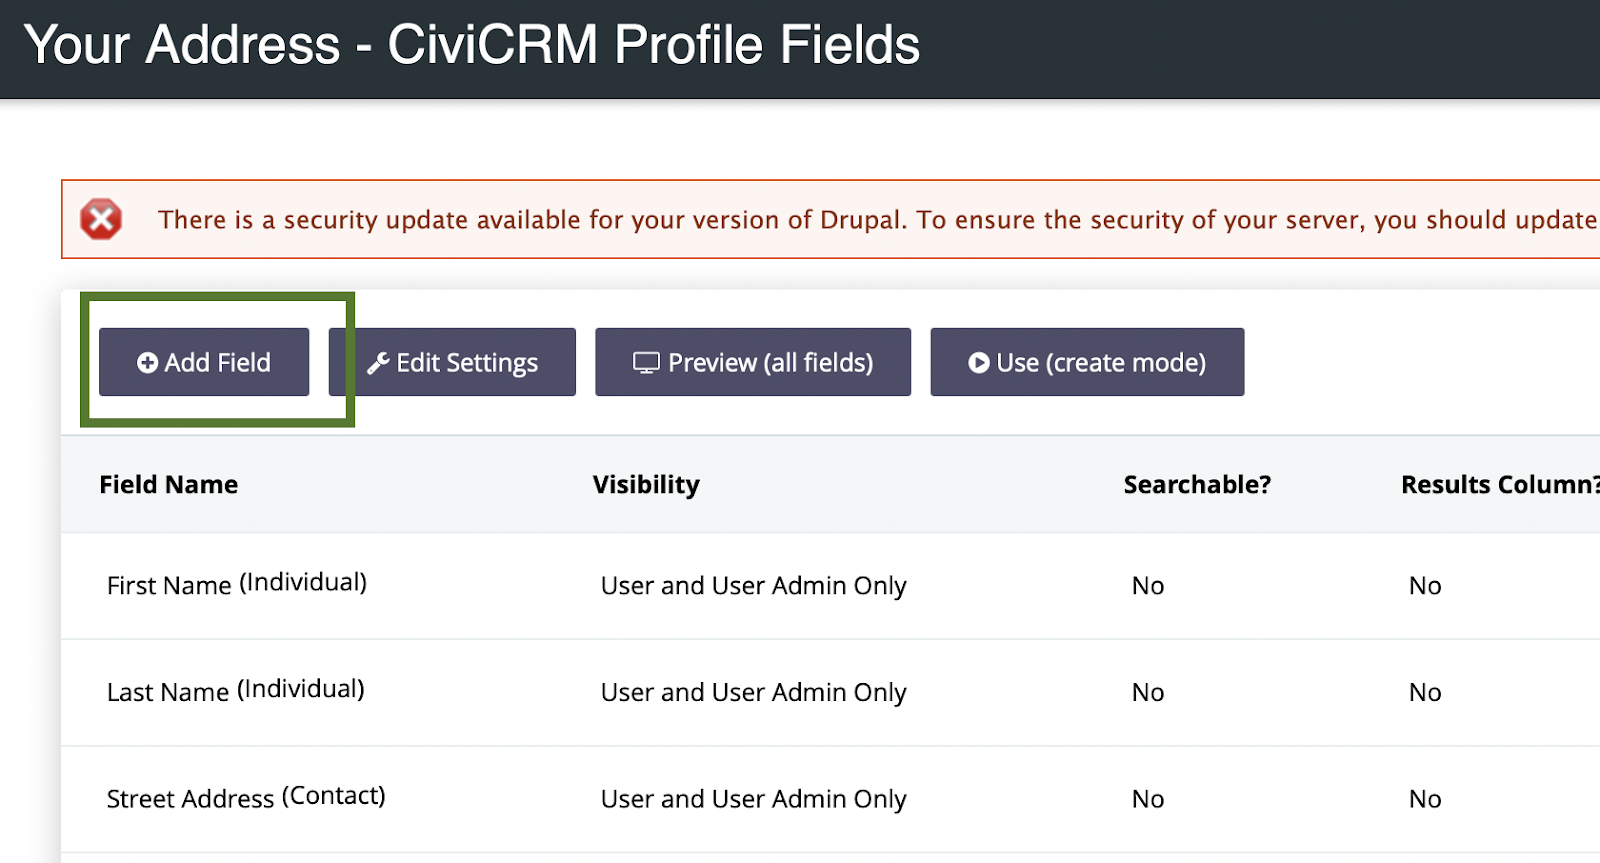
(Editing the profile from Administer > Customize data and screens > Profiles > [choose the profile] Fields)
You can create as many profiles as you need. You can create some basic profiles collecting basic info to reuse them in many instances, and some more unique profiles to be used for more specific purposes. Note that forms can contain multiple profiles.
Forms
A setting of one profile or more, optionally combined with a price set, intro text etc. Used as an Event form or a Contribution form. (For advanced users, you can turn a single profile to a stand-alone form).

(Contribution form editor)
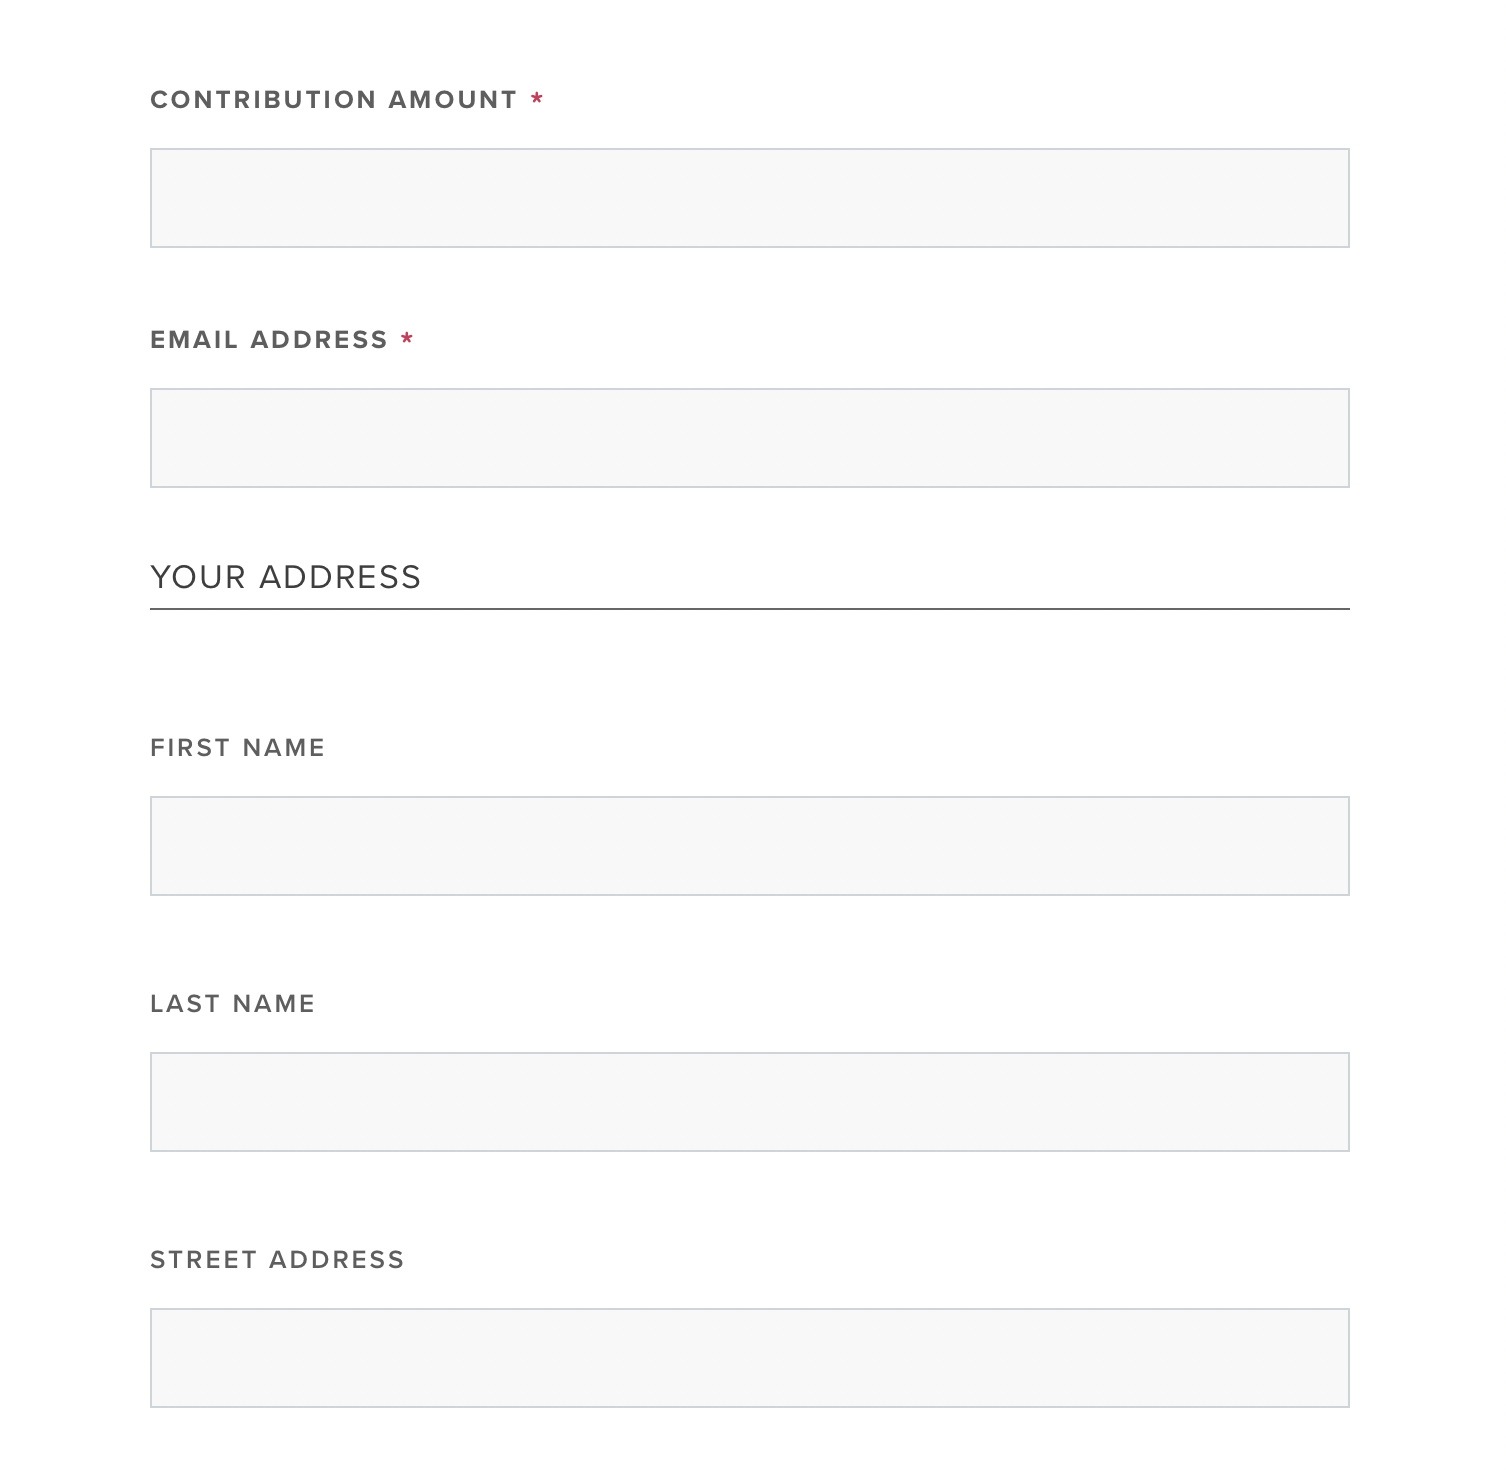
(Live contribution form, with contribution amounts and a profile)
Custom Fields
By default, since all fields are directly connected to the CRM, only fields of basic contact info are coming with the CRM, like basic personal info (name, gender, birth date etc.), basic communication fields (address, email, phone), and some general add ons for Chabad users (Judaism status, Hebrew name etc).
If you want to collect additional information, you’ll need to create a new field, hence: Custom Field.
This can be useful in so many cases, like to record allergies for a Hebrew School kid, to find out if someone wants to pick up their matzah or they rather it to be delivered, If someone wants to leave a note with an event registration, or to let you know how many people are coming to an upcoming Challah bake.
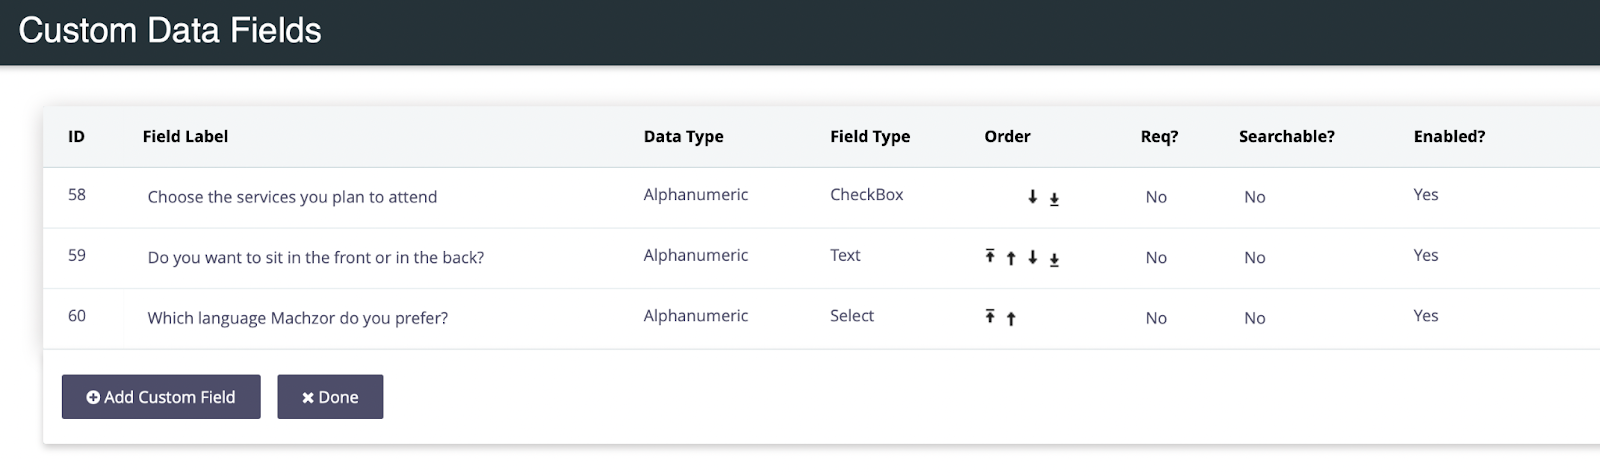
To do so, you’ll first need to create a set of custom fields, like: “High Holidays Fields”, then you can create some related fields, like: “Choose the services you plan to attend,” “Do you want to sit in the front or in the back?,” and “Which language Machzor do you prefer?”.
(Settings)
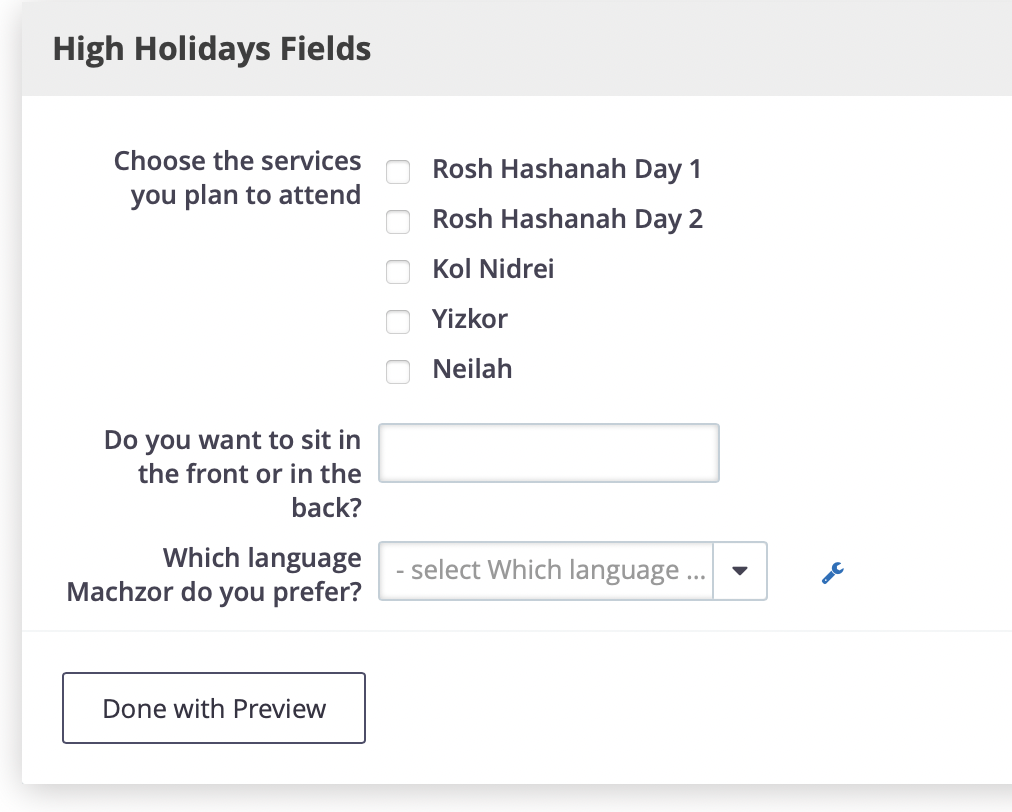
(Preview)
Each set of fields needs to be set to use for a specific purpose. It can be associated with contacts (“Does he own tefillin?”), Activities (“Did we take a selfie?”), or participants (“Do you prefer white or red wine for the Seder?”).
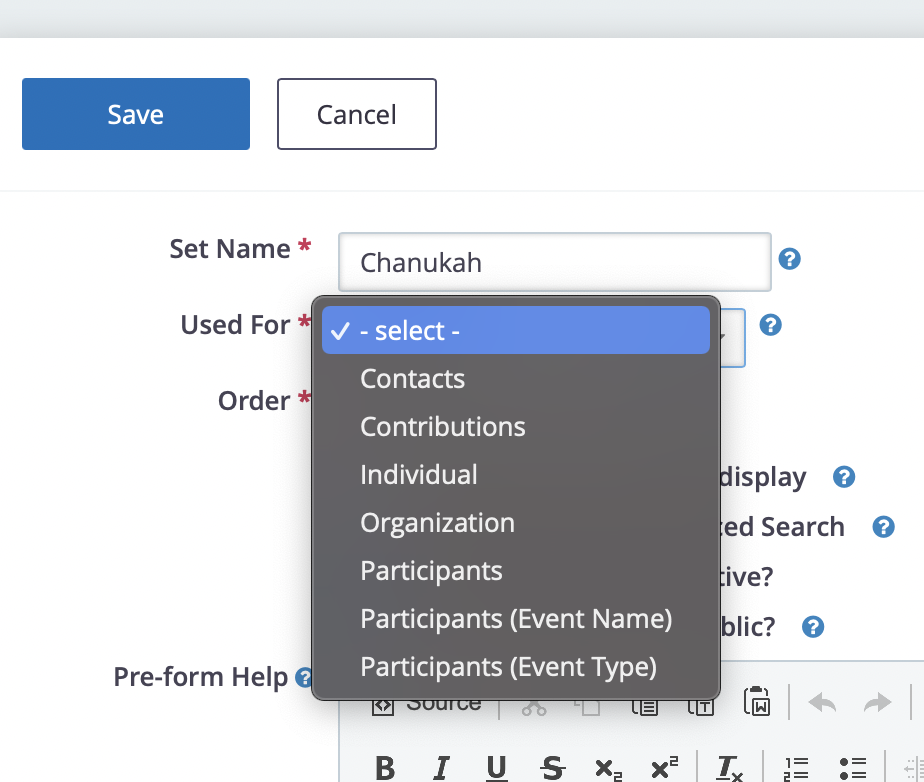
Note that when you choose Participants fields you can limit the use of this field to a specific event type or name. If you do so, for example you limit the use of “How many menorahs do you need?” to the “Menorah distribution” event, you will not be able to add this field to any other events.
Make sure to set the use of the fields wisely. If the information is changing every year you probably want to associate it with Participants. Think if the information is more similar to someones’ name, which is not changing (Individual field), or something more temporarily, like how many of their kids will come to the purim party this year (Participant field).
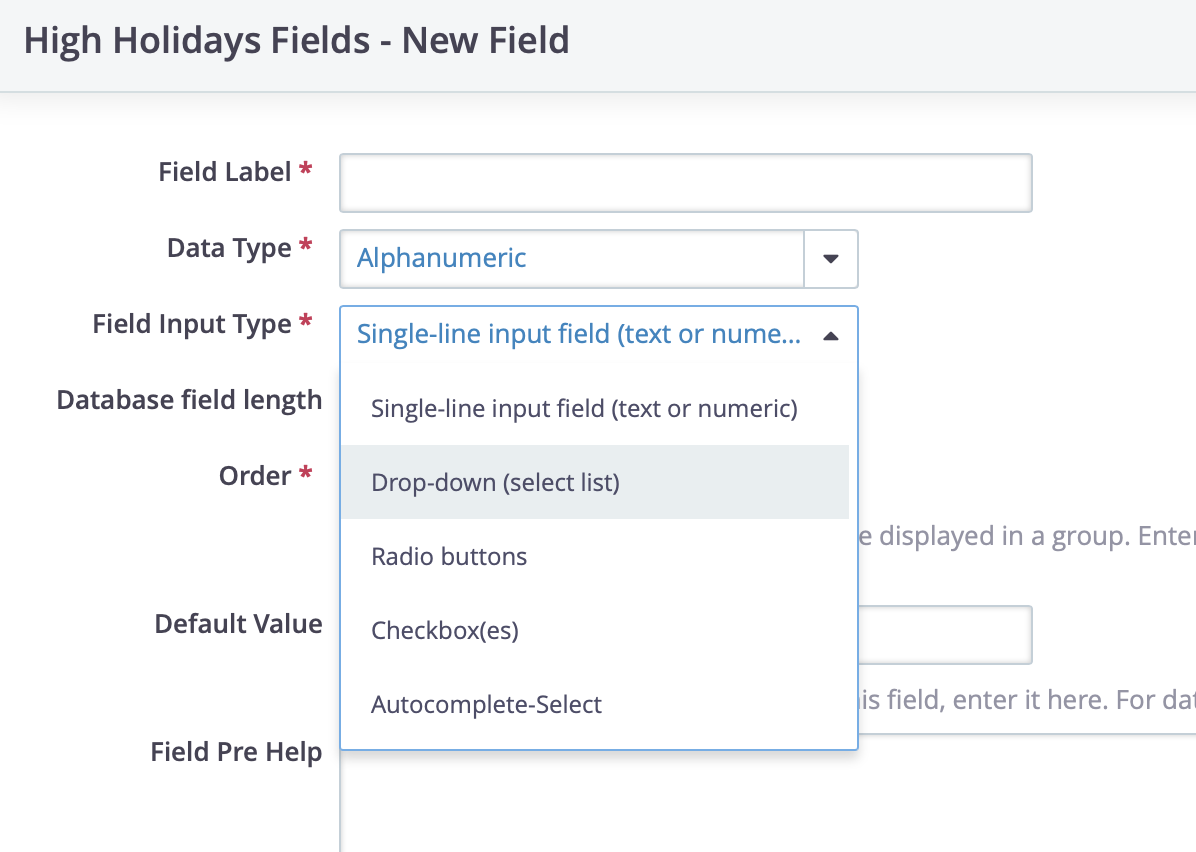
You can create as many Custom Fields as you want. Each field can be set in any input type you want, like line to type text or numbers, checkboxes, radio buttons or a dropdown.
If you want to use this input to run searches and reports later, make sure to set this field as Searchable.
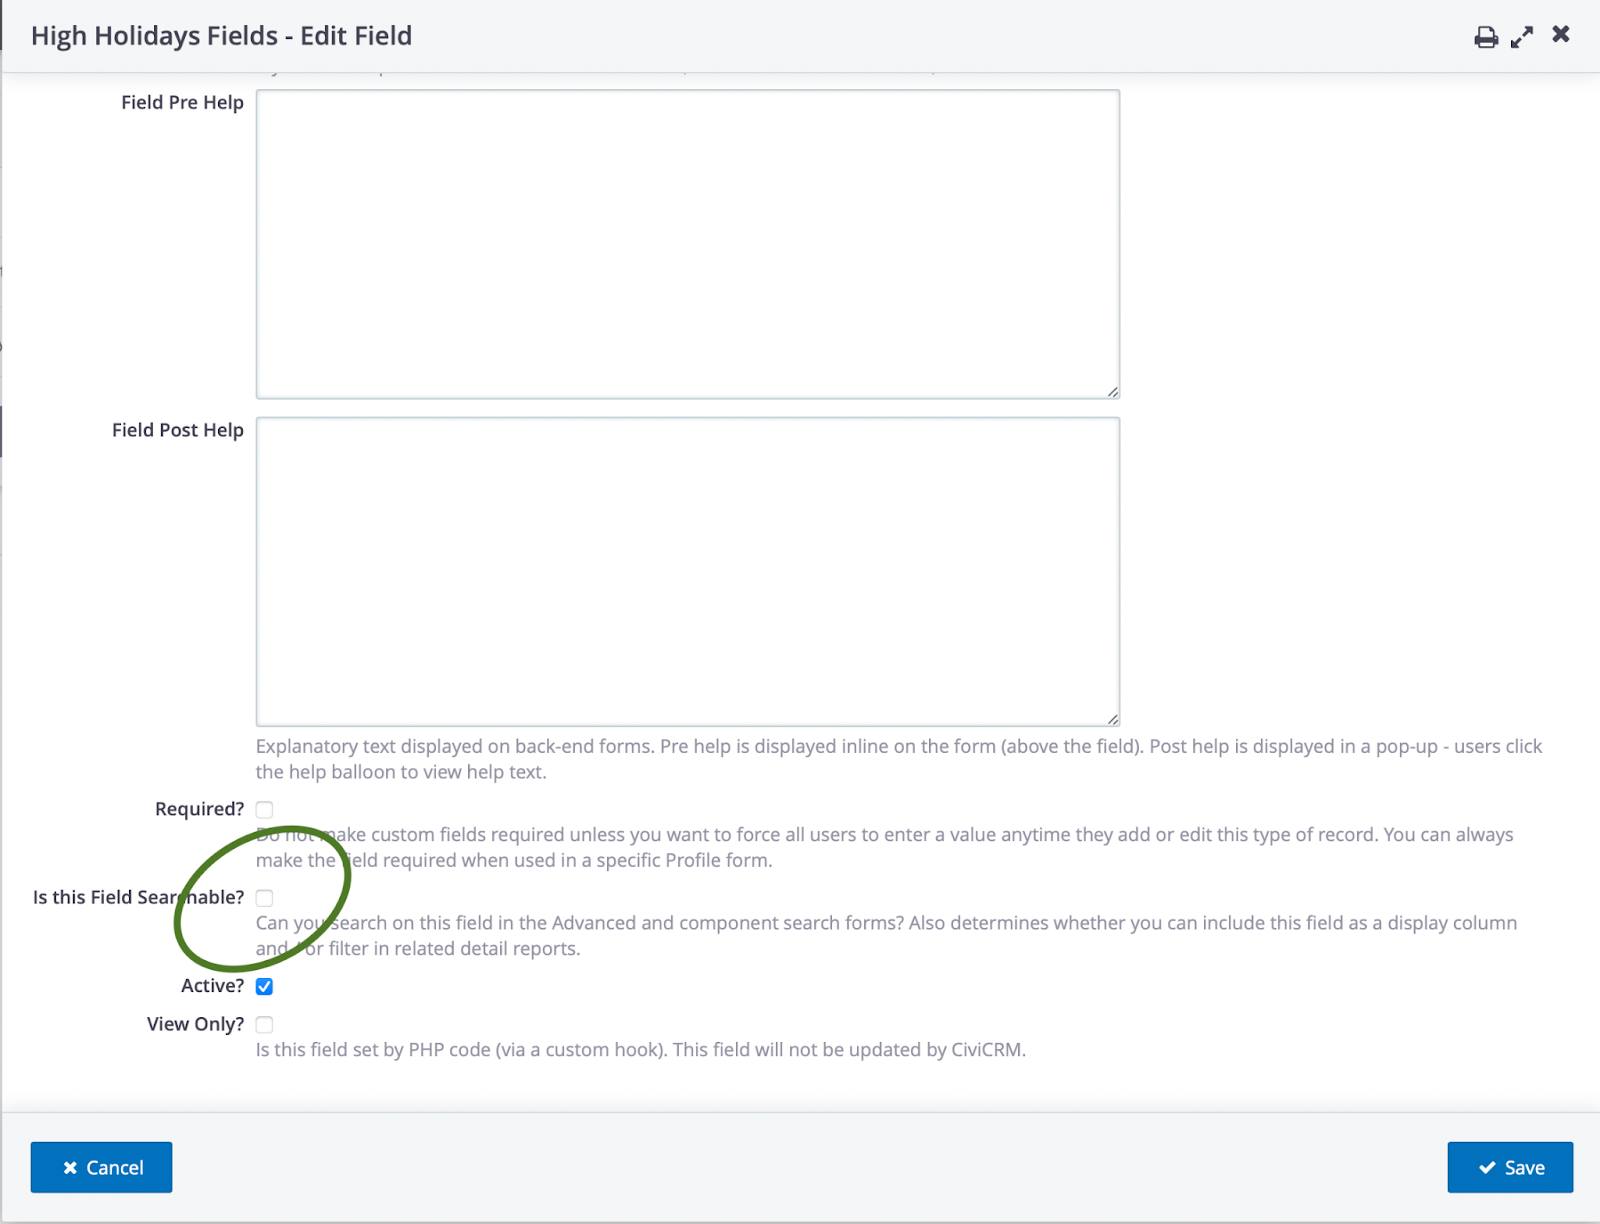
Note, that although it is possible to set a field as required from the Field settings (as can be seen in the picture above), it is better to set it as required only in the Profile settings, as mentioned above.
Now, after creating the custom fields you need, you can add them to a profile, which eventually you will use this profile in your event/contribution form. You can add them to the profile from the Profiles setting page (Administer > Customize data and screens > Profiles), or by editing the form.
Adding fields form the form editor:

Adding fields form the Profiles settings:

Note that you need to first choose the location of this field (contacts set, contributions, participants etc.), then you should see the new fields in the second dropdown in an alphabetical order.